Blog

Archaeological Illustration Students Attend 3-Part Class

Featuring: Lithics – Stone Tools, Historical Building – Perspective, and Bedrock Mortars – Archaeological Site

Winter 2023, four very dedicated students attended a three part class on archaeological illustration. I say dedicated because all but one person came from afar – through rain and hail they drove, three Saturdays in a row!

The Bedrock Mortars at Felicita Park – Escondido, CA

Illustrating Bedrock Mortars

Close—up of a mortar inside the bedrock.

Felicita Park in Escondido, CA was a Kumeyaay village during prehistoric times.  The Kumeyaay People at that time were hunters and gatherers.

Their primary food source were the pointy acorns from the California Coast Live Oak and the stubby acorns from the Black Oak.

These particular grinding rocks at Felicita Park are just one of many where indigenous people ground acorn nuts, seeds from native plants such as chia and buckwheat, and bone. We had to scoop up some of the smelly rain water from within the mortars and slicks in order to see and feel their smoothness.

Kumeyaay Village Sign
Kumeyaay Village – Bedrock Mortars Archaeological Site Felicita Park, Escondido, CA
Pointed Acorns of the Coast Live Oak

As we sat around the bedrock with our drawing pads, it began to drizzle.  Our papers started to buckle from the rain, and Trader Joe’s muffins started getting soggy, so I said, “Let’s go to Starbucks!  They have long tables and we can finish our drawings over coffee using photos we’ve taken.” Everyone was like, “Yay, and hot chocolate too!”

Illustration of Bedrock Mortars in 2-Point Perspective

During the rest of the Bedrock Mortar drawing class, I demonstrated on how to use an app called, “Adobe Capture.” It turns a color photo into a black and white drawing.

The app is a great way to see where shadows and additional stippling might be used in illustrating stone tools.  It’s also a good tool to see the outline of a subject and then trace it from an iPad rather than go through the whole process of figuring out perspective by hand.

An example of how Adobe Capture turns a color photo into a black & white ink drawing.
Adobe Capture’s version of the bedrock mortars from a photograph. I erased some of the foreground to indicate grass.

With that said, however, the point of the class on drawing in perspective was to learn exactly that –  how to draw something in perspective but by hand – and figure out vanishing points. Which in actuality is more accurate than Adobe Capture but in a pinch, with not enough time in the field, taking a pic of a foundation or building, then tracing the outlines with the help of the app can make for a quick rendition of the subject in question.

Illustrating Historical Sites

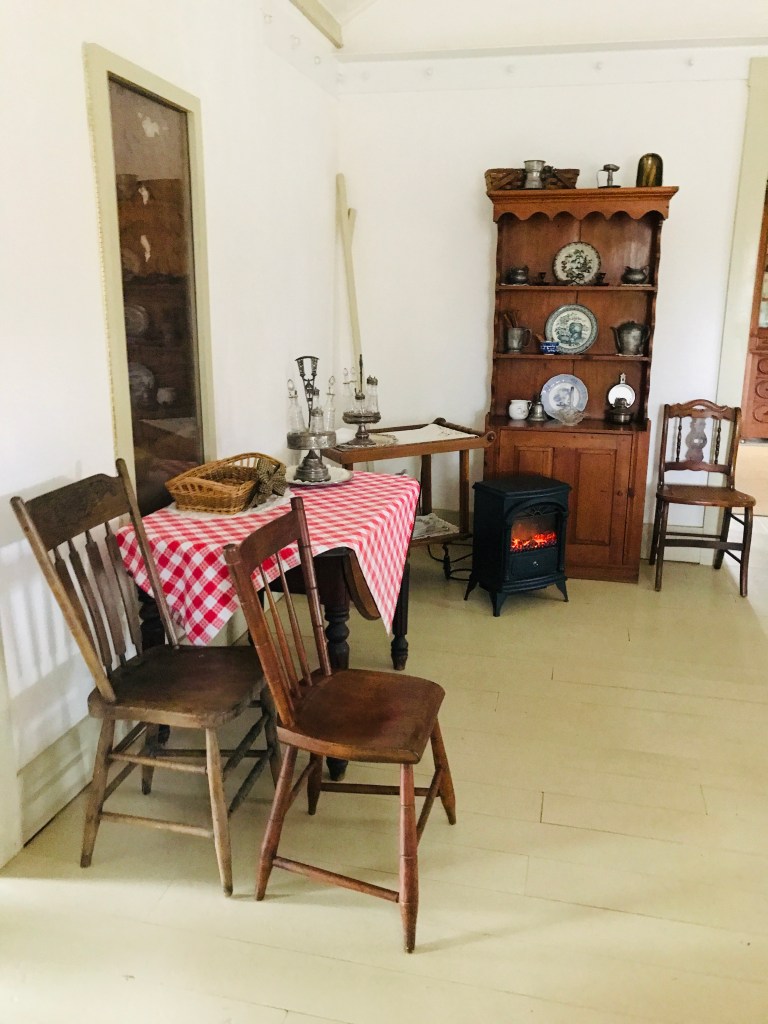
For the historical part of the illustration class series, we met at Sikes Adobe in Escondido. If you decide to visit, just note that it’s hidden behind a gas station, across from the mall on Via Rancho Parkway.

Historic photo of Eliza Sikes in front of the adobe section of the house.
Sikes Adobe today in Escondido, CA

We were able to schedule a tour of the inside where part of the adobe wall can be seen through a glass window. Established around 1870, this historical site proved to be a great example to use for our illustration class on drawing in perspective – a skill that can also be applied to archaeological sites of ancient foundations.

The original adobe bricks can be seen through the window on the left inside the kitchen area.
The original bricks of the Sikes Adobe. Unfortunately, the glass caused a reflection.

After the tour, we walked around the grounds to see some of the outbuildings and old farm tools.  Then I asked the students to pick a spot for drawing the adobe; at an angle which they found personally interesting.  Some chose the creamery while others chose the house.

Sikes Farmstead Creamery

I think each person found that drawing in perspective can be challenging but then I saw the light bulb come on in their heads and they got it!

Pencil drawing of the Sikes creamery in perspective.

Drawing in perspective is a very detailed process; there wasn’t enough time to ink in the illustrations so some of the students finished their inking at home.

Understanding one and two-point perspective, and being able to apply their new-found knowledge in the field was the goal of this class.

By the end, everyone had the ability to draw both bedrock mortars and a building in perspective.

During the final class meet-up, certificates were given to each student for completing the entire series – something they can add to their curriculum vitae!

Checking out the grounds while listening to the history of Sikes Adobe.
The back porch of the adobe.
Inked drawing of the Sikes porch using one-point perspective.
Julie, intent on figuring out her horizon line and vanishing points before she begins her drawing.
Completed Sikes Adobe in pen & ink by class student and professional archaeologist, Julie Scrivner.

Congratulations Chris, Julie, Alyssa, and Gary!  Thank you for coming from afar and participating, despite the inclement weather!  My favorite part?  Scooping out the smelly water from the bedrock mortars. …

2023 Three Part Artifact Illustration Class Package

SDAC welcomes Donna Walker

3-Part Artifact Illustration Class Times and Dates:

1st Class: Sat. Feb. 25th on Lithics at the San Diego Archaeological Center (SDAC)
Address: 16666 San Pasqual Valley Rd, Escondido, CA 92027
Time: 10:30 am – 1:30 pm

2nd Class: Sat. March 4th on Perspective at the Sikes Adobe Historic Farmstead
Address: 12655 Sunset Dr. Escondido, CA 92025
Time: 11:30 am – 2:30 pm Note:  A short tour of the inside to view the original adobe wall will be at 11:30 am.

Sikes Adobe Map Directions
Map Location of Sikes Adobe

Sikes Adobe History

3rd Class: Sat. March 11th at Felicita Park on Bedrock Mortars
Address: 742 Clarence Lane, Escondido, CA 92029 (Parking $3 per vehicle)
Time: 10:30 am – 1:30 pm

Felicita Park Brochure & History

Kumeyaay Village Sign
Kumeyaay Village – Felicita Park, Escondido, CA

Package Cost: $135. SDAC Members: $115 (15% Discount)

NOTE: For the 2nd and 3rd class, we will meet at SDAC’s parking lot at 10 am then carpool over to the archaeological sites (Felicita Park charges $3.00 for parking).

If you’re unable to attend a class, you can make it up by coming to one of the quarterly classes that will be held at SDAC.

Payment: You may pay by cash or check on the first day of class or, via PayPal. When using PayPal, please enter whether or not you are a member of SDAC in the note/comment section, and then enter the designated amount accordingly.

Thank you!  Feel free to contact me with any questions!

SDAC Educational Room Illustration Class
Class Instructor Donna M. Walker

Recent Student Drawings: 

Artifact Illustration Class 2022

Artifact Illustration Class

November 2022

Thanks to SDAC for letting our illustration class use their educational room and teaching collection.

On Saturday, Nov. 5, 2022, class was held at SDAC (San Diego Archaeology Center) in Escondido, CA. Unfortunately, a few students and archaeologist were unable to attend due to colds … must be the changing weather!

Student, Serena doing a fine job of measuring and illustrating a shell.

Vanessa Chappins, SDAC’s Public Archaeology Coordinator, had the educational room all prepared for us with tables and a display of teaching “artifacts” for illustrating.

Students soon learned the beginning of artifact illustrating can be time consuming: Measuring, working first in pencil, lots of erasing, and closely examining the artifact from different angles and light.

We also discussed  Drawing Artifacts to Scale and how a 1:1 scale is the easiest and takes less time and creating a layout of the ventral (front), profile, and dorsal (back) of their artifact.

Cookies can be an integral part of illustrating.

They soon realized how drawing profiles, be it biface, shell, or pottery, can be difficult – requiring good hand dexterity plus, often standing up and bending over the artifact and paper while carefully holding the piece in place to trace around it.

I promised everyone that once they got to the inking part, it would move faster and actually become a pleasant form of relaxation.

We only had to introduce the white out once. Taking breaks – stretching (and cookies), helped ease the backs, necks, fingers, and stomach. …

Bonnie hard at work drawing a rim sherd. Check out the vellum in the bottom right hand corner.

As I went around to each individual and answer questions or demonstrate techniques, I saw just how great everyone was doing and how well they kept examining their artifact, comparing it to their drawing, checking back and forth, back and forth.

I explained that artifact illustration is a technical skill which can be learned.  Their job was to “map” the artifact step-by-step.

It’s easy to put too much detail with pencil when drawing bone but Gary was able to refrain himself!


I also shared some shortcut techniques that included using vellum ( parchment paper for baking is less expensive and works just great!).

Some of the students working on ceramics were able to place vellum over the sherd and trace the outline of the design.

Then they turned the vellum over and rubbed the side of their pencil all over the backside, then flipped it back over and placed the vellum on top of their paper, centering it over the outline of the sherd they had drawn, and pressed their pencil down, going over the lines of the design. Hand-made carbon!

Luke busy at his illustration.

One thing I had to remind everyone of was to go softly with the pencil because in the end, it all had to be erased.

Also, for that reason, I let them know to go easy on placing too much detail with pencil … that most of the detail would be done during the inking process.

Everyone ended up doing a complete and may I say, “beautiful” illustration! Take a look at the finished drawings:

Bonnie did a fine job of illustrating this piece of ceramic. (Photo is a close up not showing the profiles)
Serena picked a difficult project but the oyster shell came out beautifully!
Gary did an awesome job of illustrating this piece of deer bone!
Luke did a wonderful illustration of a rim sherd!

Digital vs. Hand Illustration

The Importance of Hand Illustration in a Digital Age

There are several reasons to illustrate artifacts by hand rather than rely on photos:

a. A camera can only reveal what is exposed to the lens; if there’s a shadow, it will obscure important details.

b. Drawings can depict hidden, as well as visible surfaces; they show an object as it exists, rather than as it is perceived by the camera. For example, in illustrating a grave with only partial bones visible, the artist can “fill in” the missing bones.

c. A good drawing represents an artifact in the most favorable conditions of light and darkness, with no detail obscured by shadows or obliterated by harsh lighting.

d. Lithic analysts continue to prefer illustrations instead of photography. This is due in part because many stone tools are highly reflective or even translucent.

e. Hand illustrations are also preferred to digitally created drawings. The difference in quality of a hand-drawn illustration supersedes a computer generated one.

Archaeological illustration is more informative than a photo. As the artist, you control what you want the viewer to see by focusing on the areas that have been worked by humans.

One does however, recognize the need for photographing artifacts, especially in museums for keeping a digital inventory. In archaeology, researchers are now creating amazing 3-D images that enable the viewer to see different angles of an artifact. And, a microscopic photo that shows texture and color is often important to include in analytical reports.

Unlike other professions where digital technology has replaced traditional methods, researchers in archaeology still rely on the detailed drawings that an illustrator can produce. Just open an archaeological report, magazine or book, and you’ll find the majority of stone tools and pottery are shown as hand done line drawings – along with the photographs.

Stippling the side view of a mano.

Instead of pitting photography and digital technology against hand illustration, the general consensus in the field of archaeology is that hand-drawn illustrations complement digital imaging and vice versa. Having both – provides a complete analysis and a better representation of the artifact.

Continue reading “Digital vs. Hand Illustration”

Project: Native American Exhibit – Elfin Forest

First Peoples of the Escondido Creek Watershed
Written by Donna M. Walker – Elfin Forest Docent / Trail Guide, Escondido, CA

August of 2017, I was asked by Simon Breen, Education Manager of The Escondido Creek Conservancy (TECH), to help with a new exhibit at the Elfin Forest Interpretive Center in Escondido, CA. I currently lead nature walks there once a month (Second Sunday at 10 am – just in case you’d like to join me!).

First People of the Escondido Creek Watershed Exhibit on display through December 31, 2017. Artwork by Donna Walker; artifacts of the area on loan by SDAC – San Diego Archaeological Center.

You’ve heard the saying, “It takes a village. …” that’s exactly what it took for this exhibit…Simon said he wanted it to be ready in one month!

* Everyone had their part; from Park Rangers, Jeff, Shawnn, and John, Tim Roberts and Victoria Grau, interns for the exhibit. Members of the Luiseño People, Mel Vernon and Diania Caudell for their input and expertise and for Diania’s cool basket weaving class!

Nathan Serrato and Simon Breen for coordinating the exhibit and reception. Last but not least, yours truly for the illustrations, signage, and coordination of the artifacts on loan from SDAC (San Diego Archaeological Center) of Escondido, CA.

Artwork of stone tools with description created by Donna Walker.

After meeting with Simon and Mel, the three of us came up with a name for the exhibit: “The First Peoples of the Escondido Creek Watershed.” We felt it was important that the exhibit focus on Native Americans both past and present, the Kumeyaay and Luiseño Peoples.

In designing the exhibit, it was essential to display artifacts found in Escondido and show how indigenous people lived during prehistoric times. However, we also wanted celebrate their culture and continued contributions to the community in present day.

First thing I did was call up SDAC to speak with my friend and curator, Adolfo (Ad) Muniz. He was very helpful in choosing artifacts found locally to loan us for the exhibit. Ad also spoke at the reception on how stone tools were made and about archaeology of the area.

Continue reading “Project: Native American Exhibit – Elfin Forest”